Baby Gate Placement: How to Keep Your Little Explorer Safe
When planning baby gate placement, the process of positioning a safety barrier to block off hazardous areas for toddlers. Also known as gate positioning, it involves understanding the layout of your home, the types of gates available, and the specific safety needs of your child. Proper placement not only prevents accidents but also supports baby gate, a device that restricts access to stairs, kitchens, or rooms from becoming a point of frustration. toddler safety, the set of measures that protect young children from common household hazards depends heavily on where and how you install the gate, while overall childproofing, the broader effort to make a home safe for babies and toddlers ties all these elements together.
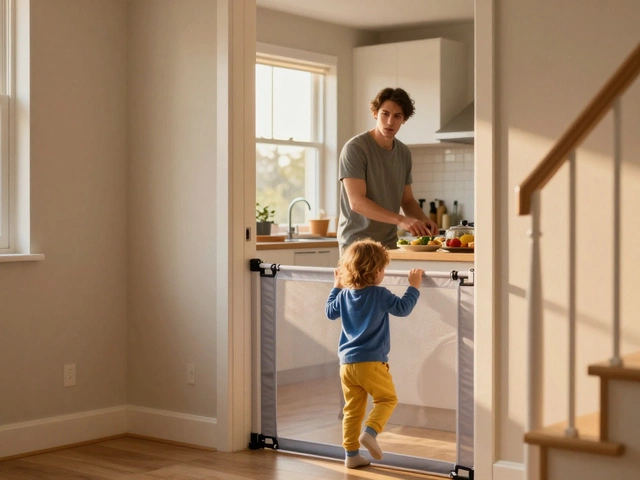
First, identify the high‑risk zones in your house: stairs, kitchen entries, and laundry rooms are the usual suspects. Once you know the spots, ask yourself: what type of gate works best here? Pressure‑mounted gates are perfect for doorways where drilling isn’t possible, but they rely on a tight fit to stay secure. Hardware‑mounted gates, on the other hand, screw into the wall or banister, offering a more permanent solution for busy stairways. Choosing the right gate type influences the exact placement, because a pressure‑mounted gate needs at least a few inches of clearance on each side, while a hardware‑mounted gate can sit flush against the rail.
Next, consider the height and width of the opening. A gate that’s too low can be climbed over, and one that’s too narrow may not cover the entire gap, creating a pinch point. Experts recommend a minimum height of 30‑inch for stair gates and a width that exceeds the opening by at least two inches on each side to allow for secure mounting. This aligns with the safety standard that baby gate placement must meet building regulations and child‑safety certifications, ensuring the barrier can withstand a pulling force of at least 75 pounds. When you match the gate’s dimensions to the opening, you satisfy a key safety predicate: the gate must be both tall enough to deter climbing and wide enough to cover the space fully.
Installation is where theory meets practice. Start by cleaning the surface where the gate will sit—dust or grease can weaken the grip of pressure‑mounted brackets. Use a level to verify that the gate sits perfectly horizontal; an angled gate can let a child slip through. For hardware‑mounted units, pre‑drill pilot holes to avoid splitting the wood, then insert the screws tightly but without stripping the threads. After the gate is attached, test it by applying pressure at the top and bottom; it should stay put with a firm push. This step confirms the semantic triple: baby gate placement requires proper installation, meaning the act of installing directly affects the gate’s ability to keep toddlers safe.
Beyond the gate itself, think about the surrounding environment. Remove or secure any sharp objects, cords, or small toys that could become hazards once the gate is in place. If the gate leads to a room with a fireplace or other heat sources, install a heat shield or keep the gate a safe distance away. These adjustments are part of a broader child‑proofing strategy and illustrate another semantic connection: childproofing influences baby gate placement decisions because the overall safety plan dictates where a barrier is most needed.
Maintenance is often overlooked but essential. Check the gate’s hardware weekly—screws can loosen over time, especially in high‑traffic areas. Replace any worn or cracked parts immediately. For pressure‑mounted gates, re‑tighten the tension regularly to prevent creep. Keeping the gate in top condition ensures it continues to meet safety standards and protects your toddler consistently.
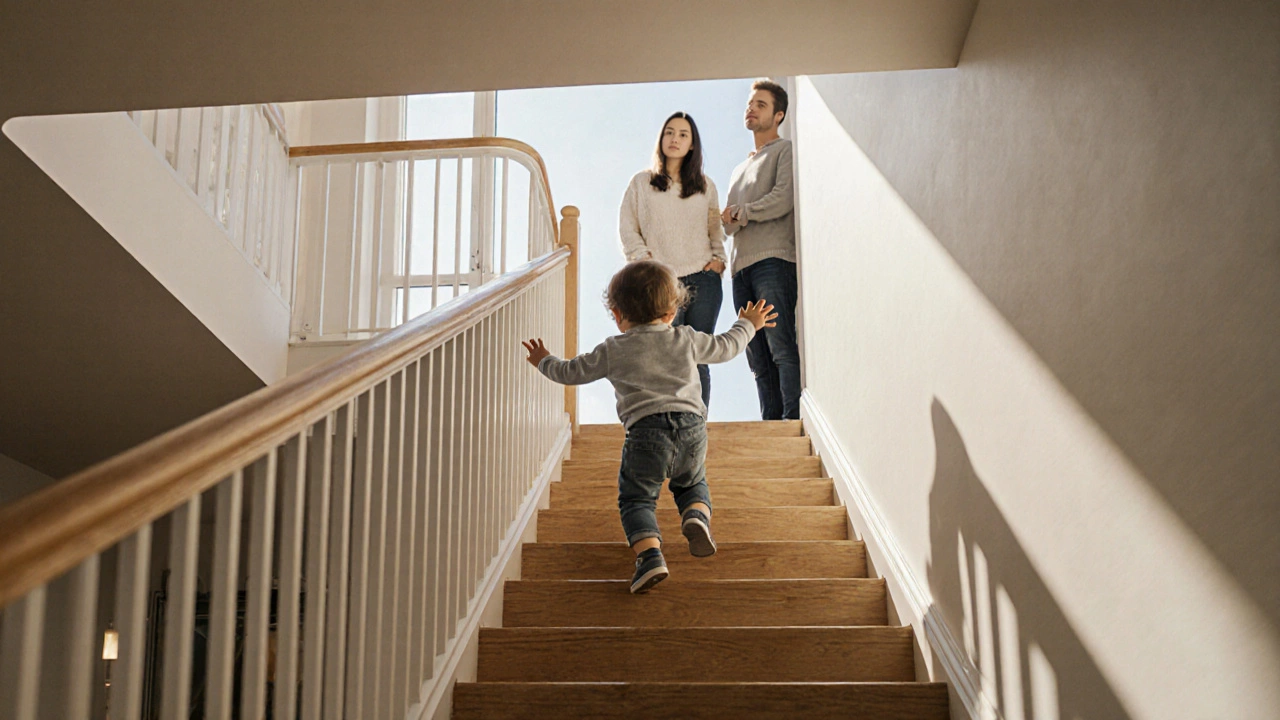
If you have multiple levels in your home, repeat the placement process on each floor. Consistency across all stairways and doorways creates a seamless safety net, reducing the chance of a child slipping through an uncovered gap. This holistic approach shows how toddler safety encompasses all gate placements throughout the house, reinforcing the idea that each individual gate contributes to the overall safety picture.
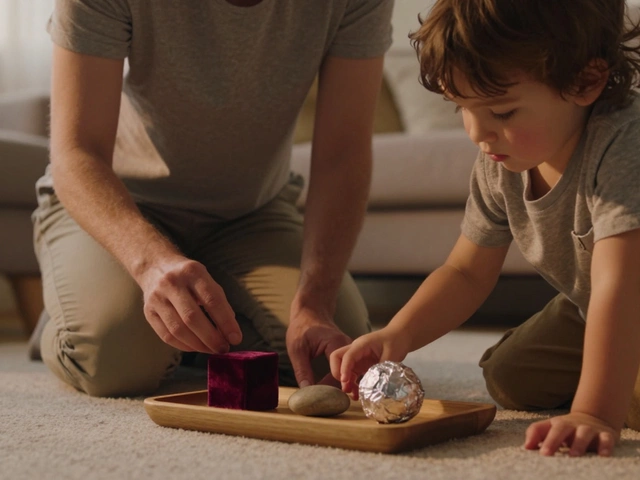
Finally, involve your child in the safety routine. Show them how the gate works, demonstrate that it’s not a game to climb, and praise them for using it correctly. When children understand the purpose of the barrier, they’re less likely to test its limits, and you’ll have one less worry during your daily routine.
Now that you’ve covered the key steps—from identifying risky zones and choosing the right gate type to installing, maintaining, and integrating the barrier into a full childproofing plan—you’re ready to see the collection of articles below. They dive deeper into specific gate models, safety standards, and real‑world tips to help you fine‑tune your baby gate placement for a truly secure home.
Baby Gate Placement: Top vs Bottom of Stairs - What’s Safer?
Learn whether to install a baby gate at the top or bottom of stairs, compare gate types, follow safety standards, and get step‑by‑step installation tips.
view more