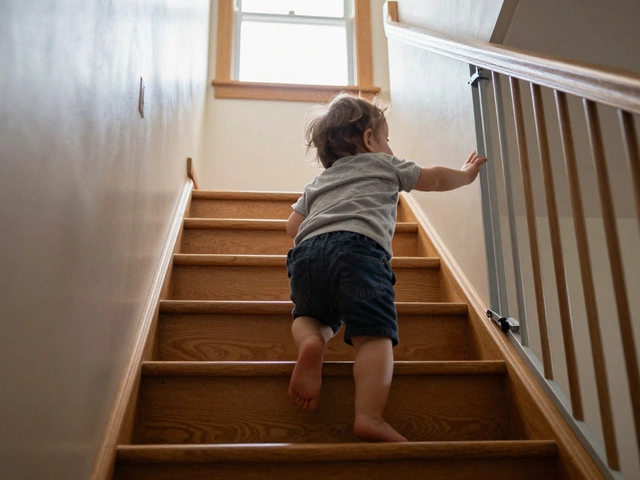
Memory Book Ideas: Simple DIY Ways to Capture Your Kid's Best Moments
Ever look at a pile of photos and wish you could turn them into something you can actually flip through? A memory book does exactly that – it turns random snaps into a story you and your child can revisit again and again. The best part? You don’t need fancy tools or a big budget. Just a few supplies, a bit of time, and a lot of love.
Pick a Format That Fits Your Life
First question: Do you want a physical book you can hold, or a digital one you can share online? A physical scrapbook feels tactile and works great for bedtime storytelling. A digital PDF is easier to backup and can be printed later if you change your mind. If you’re not sure, start with a printable template – you get the look of a paper book but keep the original files on your computer.
Physical kits are cheap. A simple three‑ring binder, some clear sleeves, and a few colored cardstock pieces give you a sturdy base. For a more polished finish, grab a pre‑made scrapbook from a craft store. Digital options include free design tools like Canva – they have ready‑made memory‑book layouts you can drag photos into, add captions, and download as a PDF.
Gather, Sort, and Tell a Story
Before you start gluing, pull together all the photos, artwork, and little notes your child has made. Sort them by year or theme – first steps, first day at school, holidays, etc. This makes it easier to see where the gaps are and what you might want to add later.
When you place a photo, ask yourself: What does this moment mean? Write a short caption in your own voice – “Mia’s first bike ride on a sunny Saturday” works better than “Bike ride.” Keep it short, sweet, and personal. If your child is old enough, let them add their own words or doodles. Those tiny scribbles become priceless when you look back years later.
Mix media for interest. Pair a photo with a pressed flower from the garden, a ticket stub from a museum, or a tiny handprint. These 3‑D touches make the book feel alive and break up pages that would otherwise look too uniform.
Don’t forget layout tricks. Stick to a simple grid: picture on the left, caption on the right. Or try a full‑page spread for big moments like a birthday cake smash. Use contrasting colors for backgrounds – light pastel for calm moments, brighter hues for celebrations. Consistency helps the book flow, but a splash of surprise keeps eyes moving.
Once you’ve filled a section, step back and flip through. Does it feel balanced? Do you need more photos from a certain year? This quick review helps you catch missing pieces before the book is sealed.
Finally, protect your hard work. For paper books, close the binder tightly and store it on a shelf away from direct sunlight. If you went digital, back up the file on cloud storage and maybe order a printed copy for grandparents.
Creating a memory book isn’t a marathon; it’s a series of small, enjoyable steps. Set aside an hour a weekend, grab a cup of tea, and watch a collection of moments turn into a story you’ll both treasure.
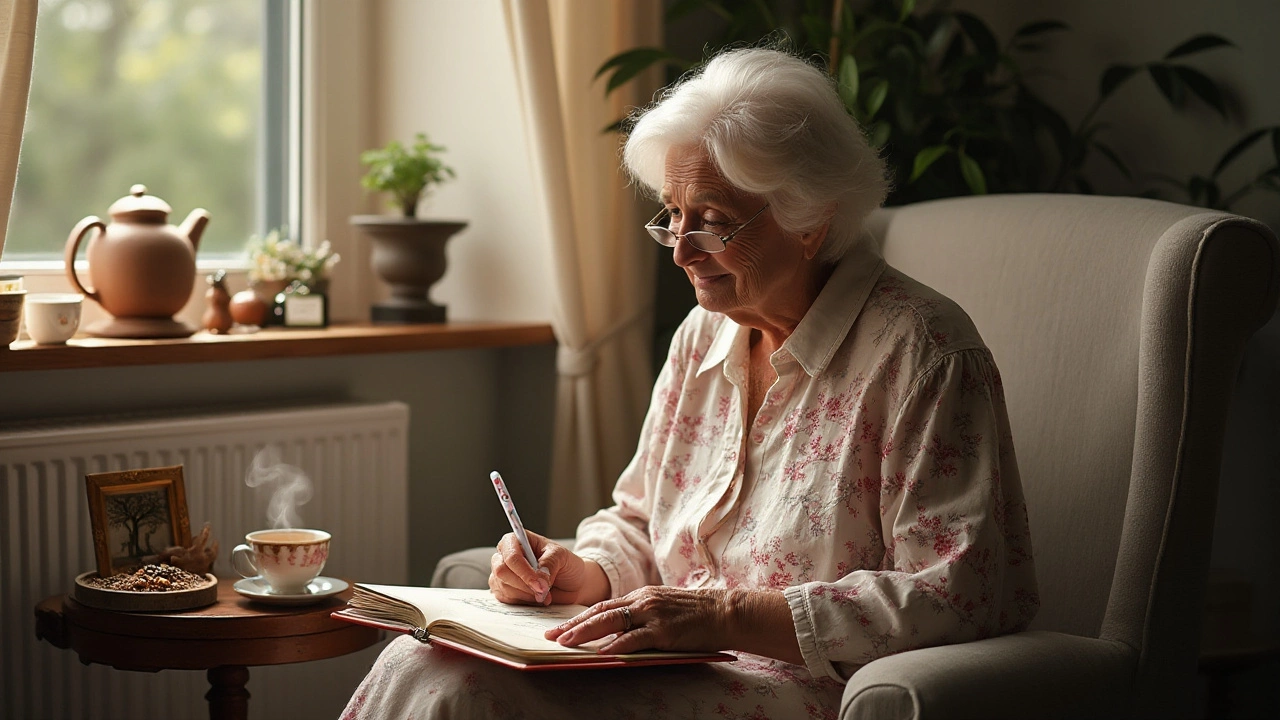
Grandparent Tips for Writing in Baby Memory Books
Grandparents play a cherished role in documenting family memories, and writing in a baby's memory book can be a delightful task. This article explores how grandparents can effectively capture their wisdom, love, and personal stories in a way that resonates through generations. Through practical advice and gentle prompts, grandparents can create heartfelt entries that offer guidance, stories, and cherished memories. Tips on personalizing messages and adding unique details will help make these entries more impactful and emotional.
view more