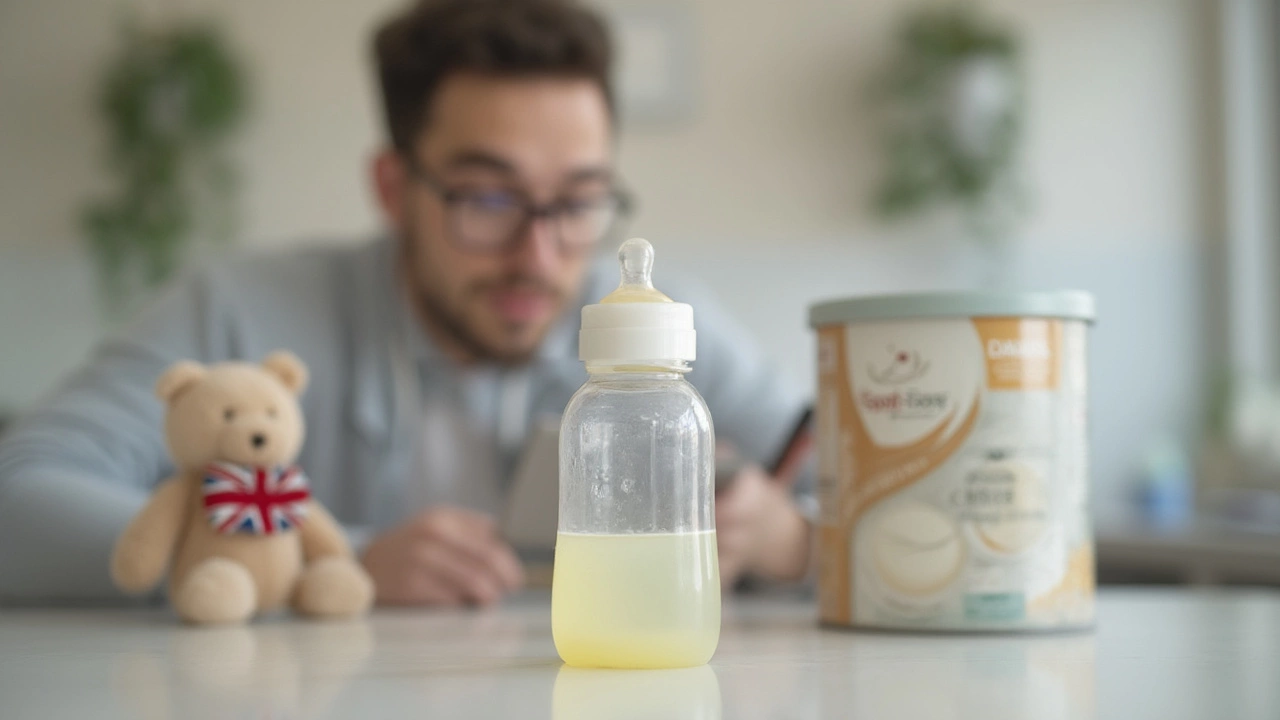
Imagine pulling out your freshly sterilized baby bottles, ready for the next feeding session. You spot a few water droplets clinging to the insides and pause—a familiar nagging question keeps popping up: Do baby bottles need to be completely dry before you use them or put them away? With bottle feeding, there’s a blurry line between what feels “good enough” and what’s actually safe. Parents argue in online forums, but who’s got it right? Mold horror stories, time-crunched routines, and official-sounding opinions are everywhere. You might be surprised by the science and the simple hacks that make this less stressful than most parents think. Let’s get into what actually matters when drying those bottles—and what you can finally stop worrying about.
Why Drying Matters: Germs, Mold, and Modern Myths
Why do we care so much about bottle dryness anyway? It’s more than just wanting things to look neat; it’s about health. Baby bottles touch the tiniest immune systems, and any shortcut could be risky—or could it? After cleaning and sterilizing, most parents wonder if a bit of lingering moisture breeds new germ colonies or if it simply evaporates in time. The short answer: it depends a lot on your home, your habits, and honest science.
Let’s bust the most common myths first. A U.S. Food and Drug Administration guide states, “Allow bottles to air dry completely if possible,” but that’s for ideal conditions. Their main worry? Damp, closed environments can promote mold and bacteria—especially if a bottle is assembled and stored while still wet. Water alone isn’t the enemy, but trapped moisture in a dark, sealed bottle is a recipe for trouble over time. Most tap water in developed countries is actually clean, so those last drops from a sterilized bottle aren’t packed with danger. Still, if your water source is questionable, extra drying is smarter.
Bacteria love warmth, moisture, and food—if a bottle is spotless after washing or sterilization, there’s no food for them. But mold is sneakier. It grows even in tiny droplets if things stay damp, particularly in humid climates or homes with poor airflow. Mold spores are everywhere, so you don’t want to give them a moist, sealed spot to party. According to a 2023 meta-analysis published in the journal Pediatric Infectious Disease, improper bottle drying and closed storage are linked to increased mold presence, but not necessarily a surge in dangerous bacterial infections, since most sterilized bottles don’t harbor much at all once they cool.
So, is a bit of water that air-dries safe? Usually, yes—but the trick is letting air do its thing. Closed, steamy cabinets, bottle warmers with water residue, or putting bottle parts together when still wet? Those should be avoided. Rushing it with a tea towel introduces lint and bacteria from the cloth, too. A clean drying rack by an open window—or better yet, a dedicated baby bottle air dryer—is often the safest move.
| Drying Method | Mold Risk | Bacteria Risk | Notes |
|---|---|---|---|
| Completely Air Dry Open | Very Low | Very Low | Most Recommended |
| Hand Dry With Towel | Low | Medium | If towel is clean, risk is lower. Cross-contamination possible. |
| Partial Air Dry, Store sealed | Medium | Medium | Sealing traps moisture. |
| Immediate Use While Damp | Very Low | Very Low | OK if bottle is freshly cleaned and sterilized. |
Baby experts often agree that a bottle assembled while slightly damp and used right away is fine. Dr. Tanya Altmann, FAAP, says, “With careful sterilization, it’s safe for a bottle to be a bit wet—just avoid storing wet and sealed.”
So if you’re running late at 3 am for a feeding, and the clean bottle has a tiny drop inside? Breathe easy. If you want to store that bottle for later or travel with it, drying becomes more essential.
How to Dry Baby Bottles Efficiently: Hacks, Shortcuts, and Science
The old-fashioned way—leaving bottles to drip upside down—is tried and true, but who has a clutter-free counter these days? The new generation of parents often juggles small kitchens, impatient older siblings, and a clock that never quite stops ticking. Bottle drying should be fast and easy, right?
If you’re looking for the most reliable way to dry, start by shaking off excess water, then use a bottle drying rack. These racks let air flow not just outside but inside the bottles. Silicone mat racks and upright stands are favorites on baby store bestseller lists for good reason—they work, and they save space. Leave the bottles as open as possible. Flip the nipple upside down to help it dry. A simple hack: position bottles so the opening faces side-up for quicker evaporation, instead of straight down.
Techie parents rave about electric bottle dryers. These turbo gadgets usually combine heat and airflow in a compact unit, slashing drying times to ten or fifteen minutes. Output? Bottles that are touchably dry, inside and out. Look for models with HEPA filters if your home is dusty.
Another option—especially if you’re washing and prepping before bed—is to leave bottles spread on a clean dining towel, away from the kitchen sink or trash (which are germ magnets). Let sun or kitchen air do its job overnight. No fancy dryer required, just time and patience.
If you’re truly rushing and need that bottle now, sterilized and damp is fine, as long as you use the bottle immediately and don’t reseal it for later. Several pediatricians say this is perfectly safe with modern water supplies—just don’t forget to check that there’s no residue or hidden milk film before using.
Always avoid these common bottle-drying mistakes:
- Storing bottles or parts while wet in a closed container—guaranteed mold risk
- Covering wet bottles with a towel or lid
- Stacking bottle parts tightly together before they’re dry
- Using the same kitchen sponge or tea towel to dry bottles as for regular dishes
- Leaving bottles to air dry near food scraps or trash cans (cross-contamination danger!)
For parents dealing with high humidity, run a dehumidifier in your kitchen if bottles aren’t drying in a few hours. Summer? A fan pointed at the drying rack works wonders. Apartment dwellers with minimal space can sterilize, rinse, shake excess water, and insert a rolled-up sheet of paper towel for a few minutes—just remember to toss the towel before storing the bottle.
“You don’t have to stress over every droplet,” says Allison Doyle, a microbiologist and author of ‘Safe Feeding: Modern Science for New Parents.’ “Modern sterilization is so effective that, if you let bottles air dry before storing, you’ve done enough.”
Data from the CDC indicates fewer than 1% of infant illnesses from bottle feeding are traced to improper drying—the vast majority come from incomplete washing or skipping sterilization altogether. That’s a huge relief for “imperfect” parents. Focus more on getting bottles truly clean, and don’t agonize about the last tiny bead of water if you’re using a fresh bottle right away.

How Long Should Bottles Take to Dry? Smart Storage & Safety Tricks
So how long does bottle drying take in the real world? On a sunny kitchen counter, most bottles dry fully inside and out in 2–4 hours. In humid climates or rainy seasons, it might take overnight. Some dryers promise dry bottles in as little as 15 minutes, but you don’t need high-tech solutions unless your routine is super packed.
If you’ve got a big batch, try alternating bottles on two racks or setting them near a window for some solar-powered speed. Make sure no parts are stacked too close together, or the air can’t circulate inside. For parents storing a batch for the week, don’t ever reassemble or cap the bottles until they’re bone dry. Moisture gets trapped, which is when you get those infamous black mold rings and funky smells that send parents running to Google for answers.
How long can you leave a bottle to dry out? Up to 24 hours is safe as long as it’s in a clean, dust-free spot. After that, dust and airborne particles might settle inside. Wipe the drying rack every few days, as old food or residue here can undo all your mindfulness. You can store fully dry bottles assembled or apart, but always check that no water collects under rubber valves or in tight crevices—those are mold’s favorite hiding places.
The CDC recommends these storage steps for parents handling a week’s supply of bottles:
- Wash bottles as soon as possible after each use. Don’t let milk crust linger in parts, as it’s sticky and hard to remove if left overnight.
- Sterilize all parts—especially for babies under 3 months or with weakened immune systems. Steam sterilizers, boiling water, or microwavable bags all work well.
- Air dry everything on a dedicated rack or mat, with space around each piece.
- Store dry bottles in a clean cabinet, with or without assembly—just skip the airtight container.
- If using a bottle immediately after sterilizing, don’t worry about full dryness.
Spotting signs of trouble is easy if you know what to look for. If you see black or pink spots; slimy patches; or a musty, sour smell—even after a single use—wash and sterilize again. Don’t take chances with mold or bacteria. Some parents keep a spare set of bottles to rotate, so there’s always a clean, dry one ready when things get busy.
Big tip: Watch for lint if you do use a towel. Microfiber is better than terrycloth, and always have a set that’s only for baby gear. No mixing with regular kitchen towels or dish rags.
If your family travels a lot or needs bottles ready on the go, dry them on the air rack, then pack in a zippered, ventilated pouch—not an airtight box. Those little mesh laundry bags are a genius substitute for expensive drying kits. This keeps bottles dry, dust-free, and always ready.
One last note: Don’t let the endless watch for bottle dryness become another parent stress. Sterility, not absolute dryness, is the real goal. A tiny water drop isn’t the end of the world—just don’t give it a place to sit and grow something icky. Stick to what matters most, and feeding time stays safe, simple, and as stress-free as possible.